- Published on
How to add custom font to react native(after version 0.69.0)
- Authors

- Name
- Danilo Gačević
- @danilothedev
As you may know, starting from version 0.69 react-native link command was removed. So the old way of adding fonts via react-native link is no more viable.
This article is here to demonstrate the process of manually adding the font files or using an automated method (react-native-asset).
To follow, download Splash font from Google fonts. Download
First, let's put our font file in the project root. I will create a new folder under assets/fonts and put it there.
iOS
For iOS we need to:
- Create a resource group if it doesn't exist yet
- Add our font file to the resources group
- Add a new entry to the Info.plist in order to register the font
First, we will crate a new group in xcode called Resources.
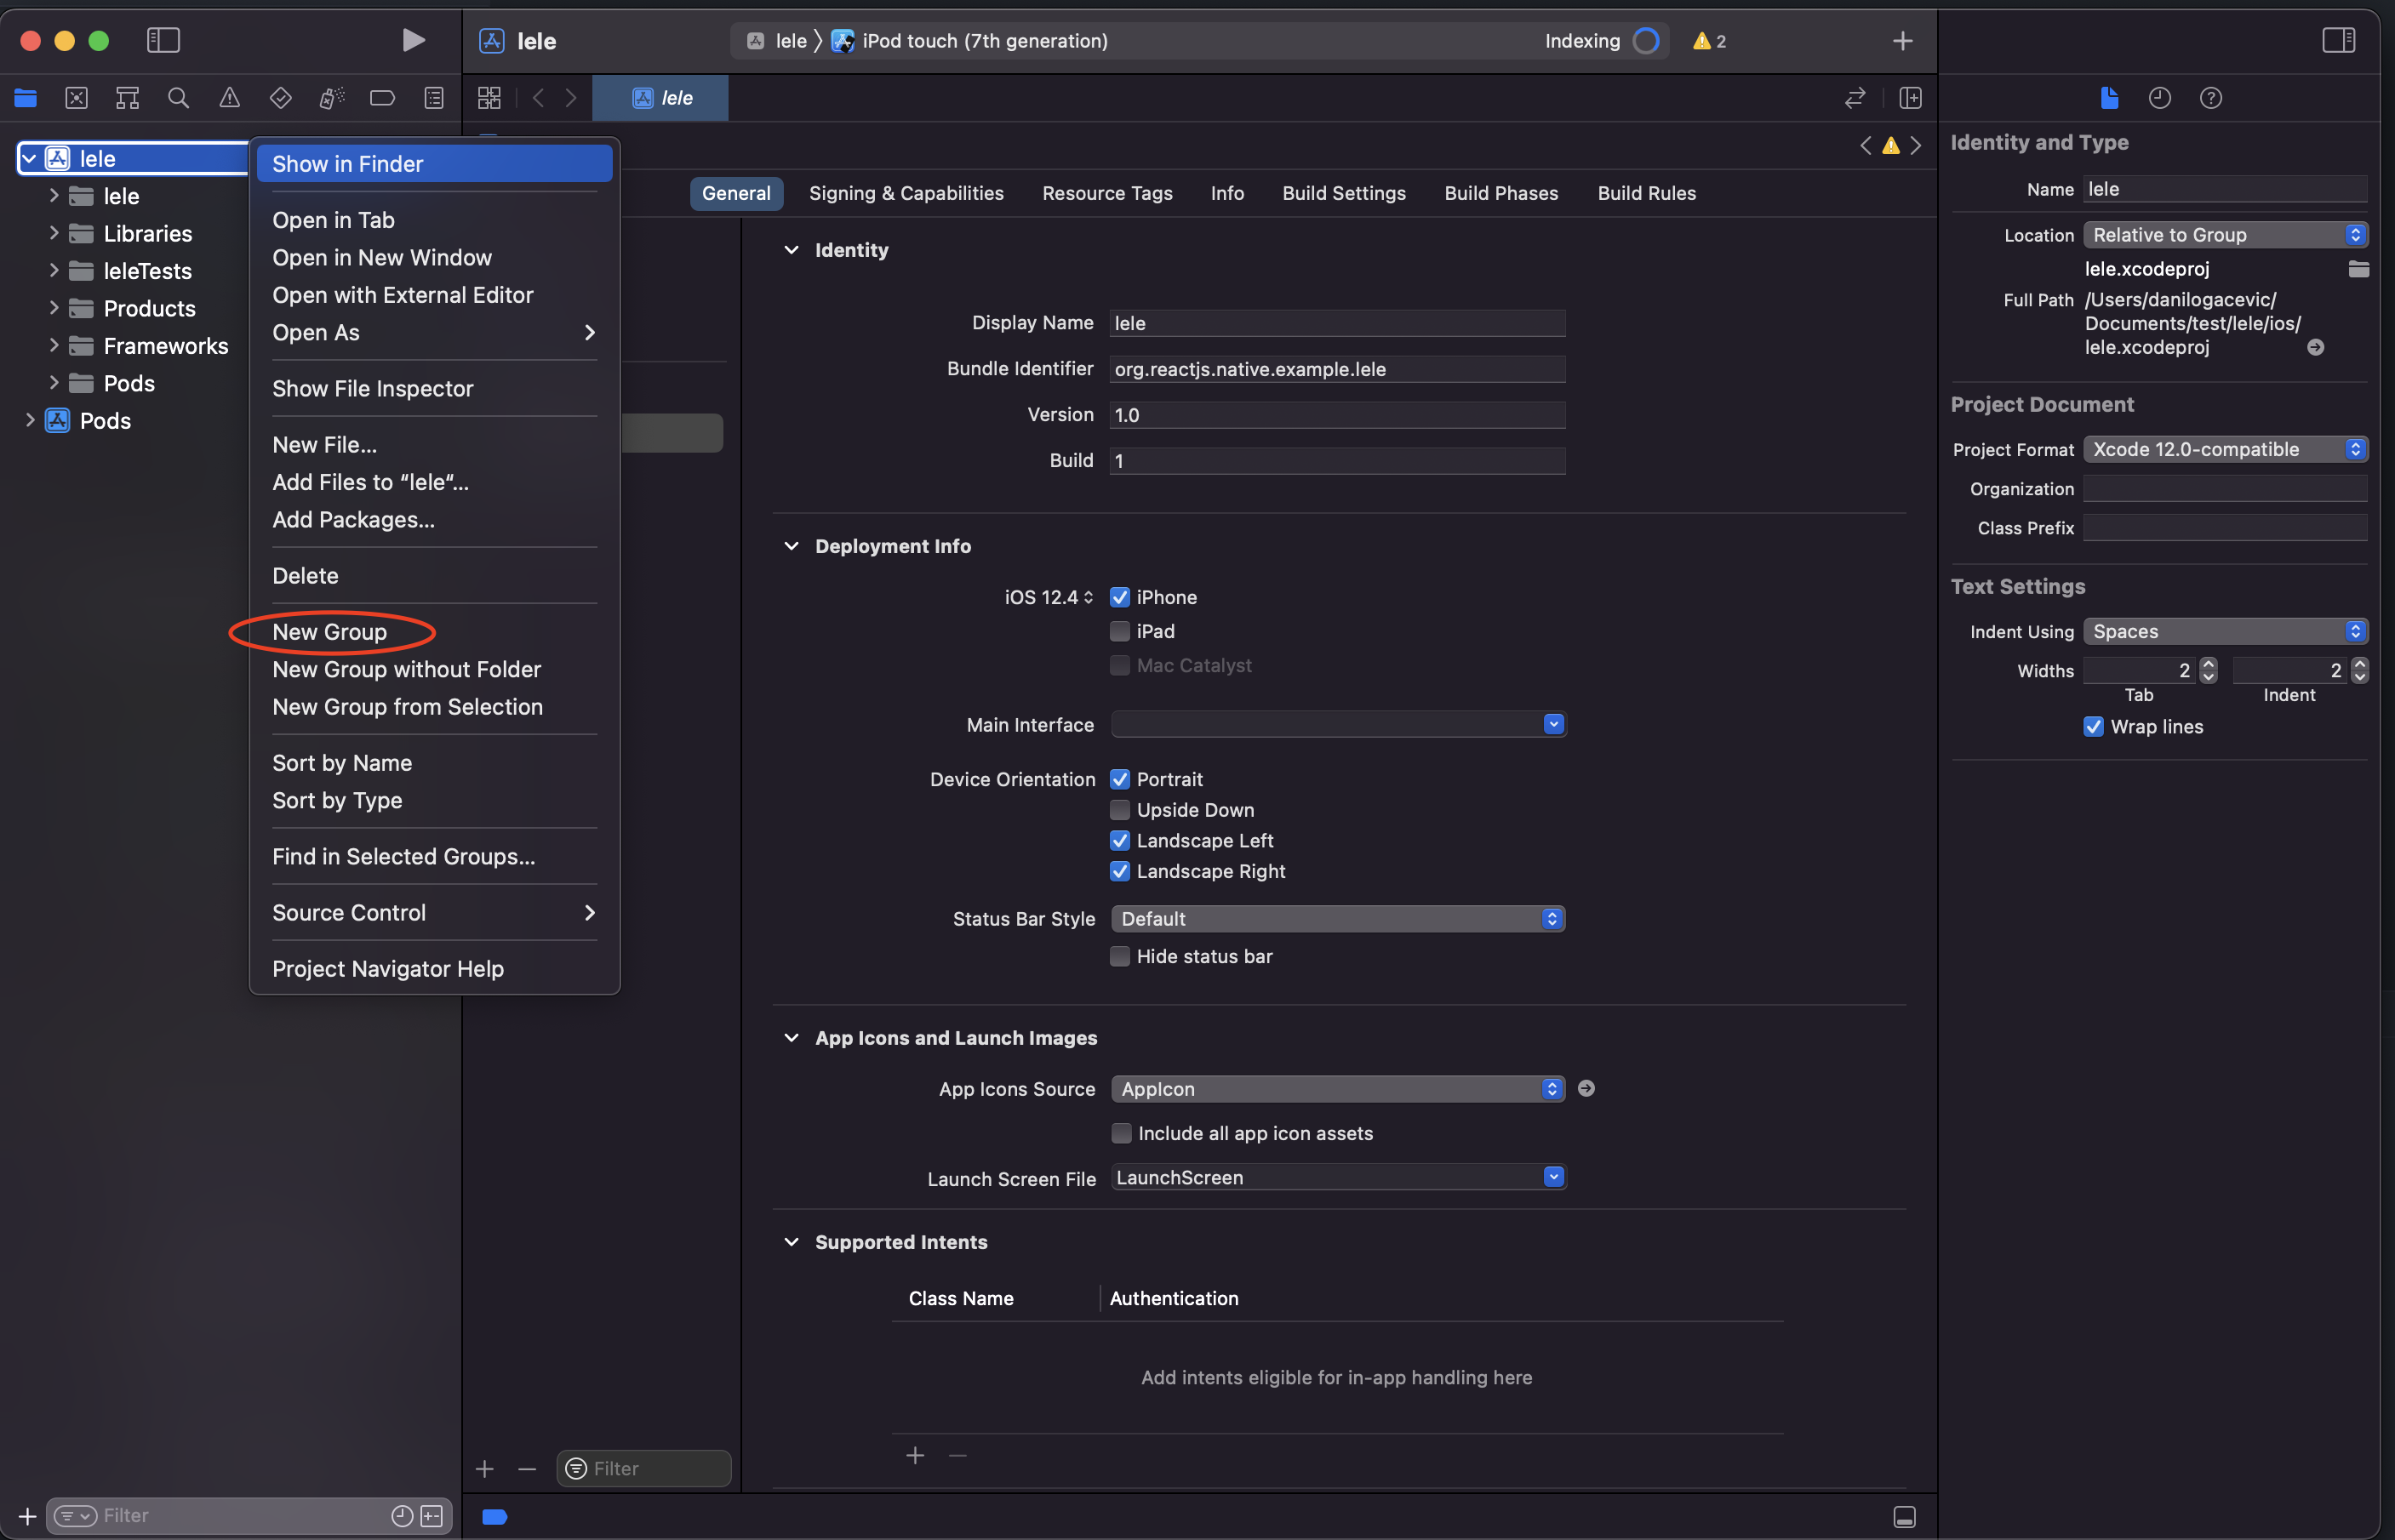
Afterward, right-click on the new Resources group and press "Add files to..." and find your font file.
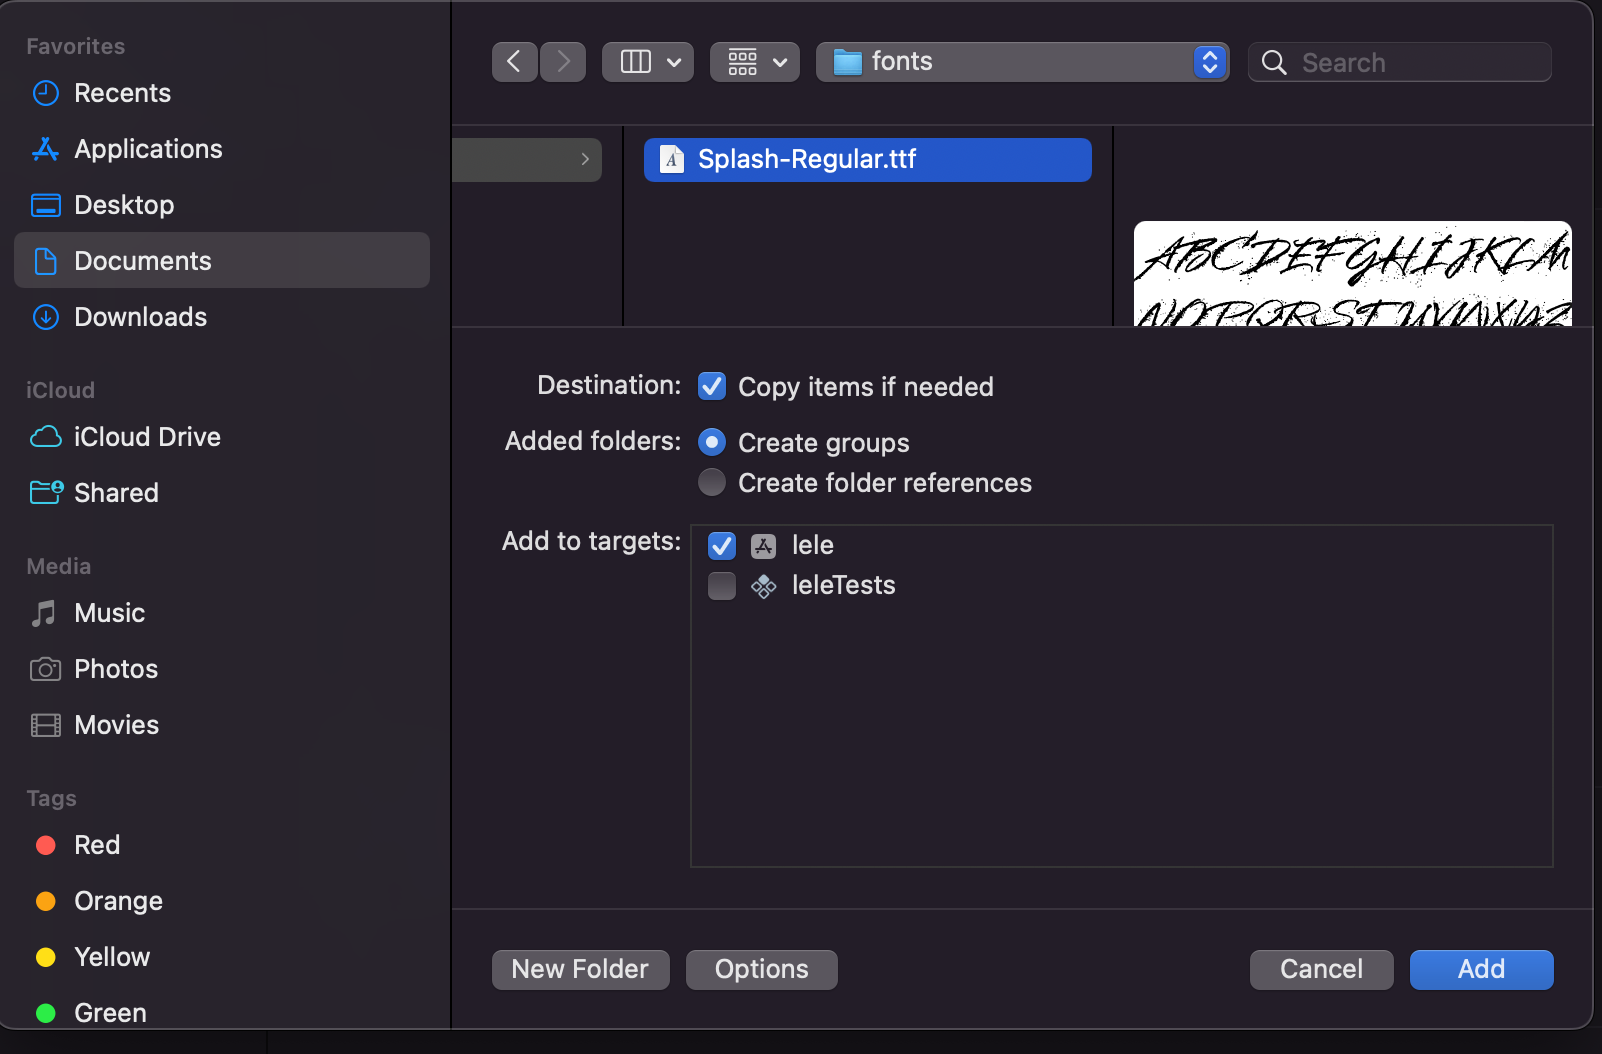
Make sure you select "Copy items if needed" and "Create groups".
Lastly, add new entries to the Info.plist file. We need to add UIAppFonts entry where the value is filename of the new font.
<key>UIAppFonts</key>
<array>
    <string>Splash-Regular.ttf</string>
</array>
Android
On Android, the process is more straightforward. We just need to copy the font file to android/app/src/main/assets/fonts
Automating the process
Linking fonts manually means that you also need to unlink them manually, the process can clearly be automated. Luckily there is already a package doing this called react-native-asset
Note that because react-native-asset expects a react-native.config.js file inside the project we need to create one in the root. You can leave it empty for now.
Now, this package can boil down this article into a single line of code.
npx react-native-asset --assets ./assets/fonts
Cheers!